
Team and project access
Invite collaborators and choose the Create projects each person can use.
Membership and project access are separate
The shared team connects membership across Builder and Create. Create project permissions decide which individual projects a teammate can access. An invitation alone is not a reason to assume every project is visible.
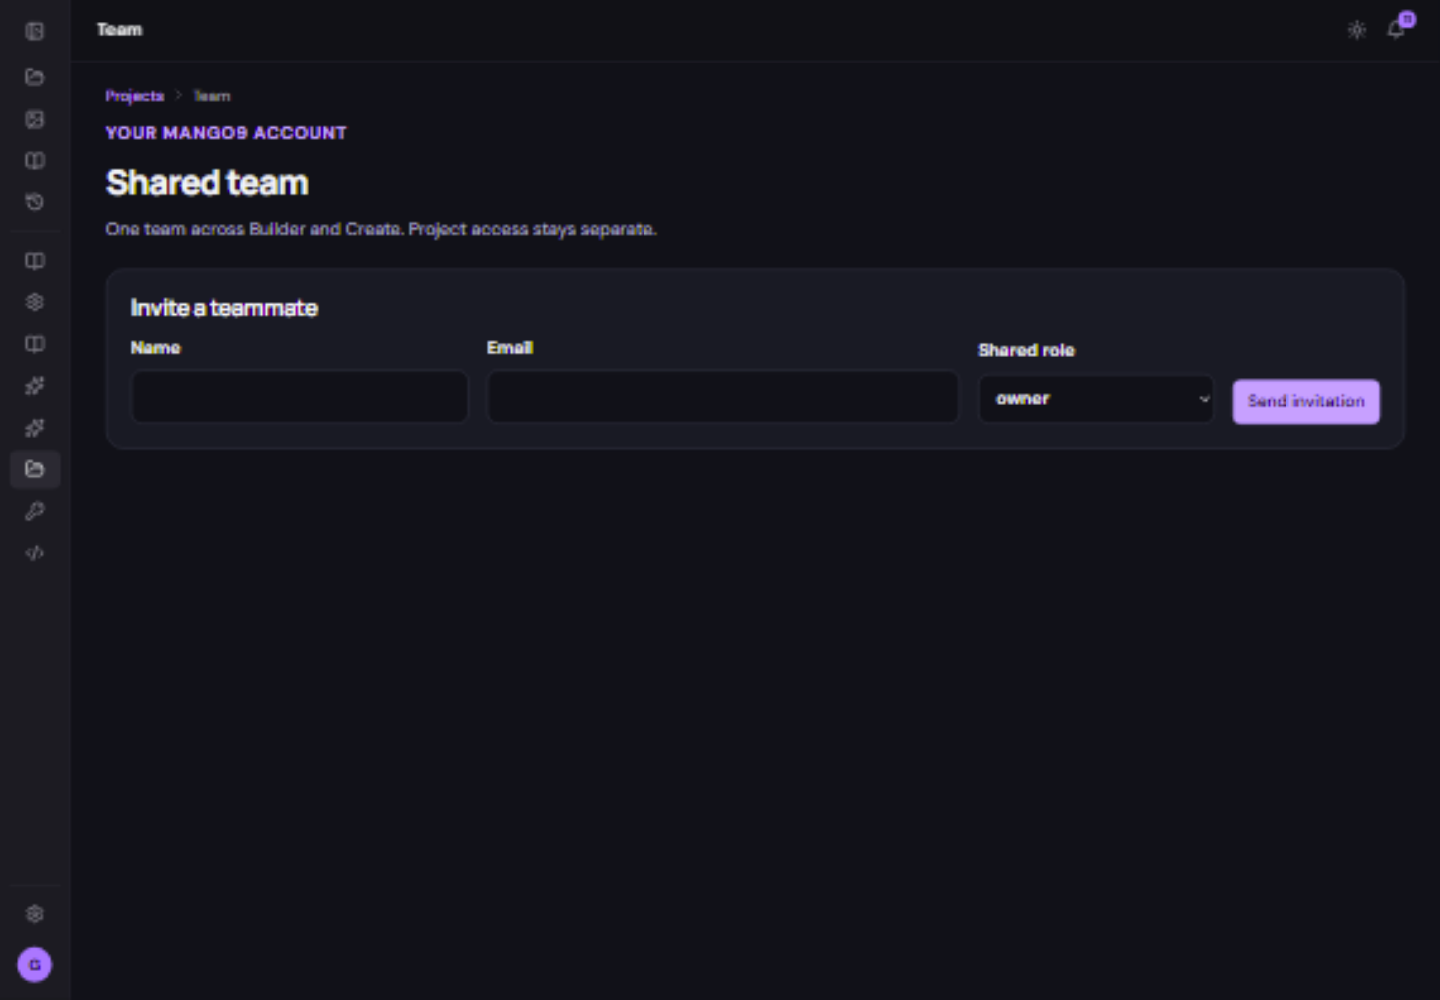
Invite and configure a teammate
- Open Team with an account allowed to manage membership.
If management controls are missing, ask the account owner to review your access.
- Enter the intended person and choose the role.
Check the email and use the role needed for their job. Do not leave a powerful default role selected by accident.
- Send the invitation.
The person follows the invitation using their own sign-in.
- Open their access controls.
Review Create project permissions, whether they may create projects and the per-project access choices.
- Save and verify the permissions.
Have the teammate open the intended project. Shared account permissions such as billing are separate and can also affect Builder.
Work together without losing an edit
For a clear handover, share the approved source files and finished export, explain the intended sequence and confirm what the teammate can open. Do not assume a project invitation transfers an unfinished local timeline.
Change or end access
Use Edit access or the role and project controls when responsibilities change. Disable or remove membership using the available action when access should end. Review the confirmation and distinguish removing a person’s access from deleting project files.