
Creative Studio: start here
Make images, videos, narration and music, then turn them into a finished story. Follow a guide for each part of the studio.
What would you like to make?
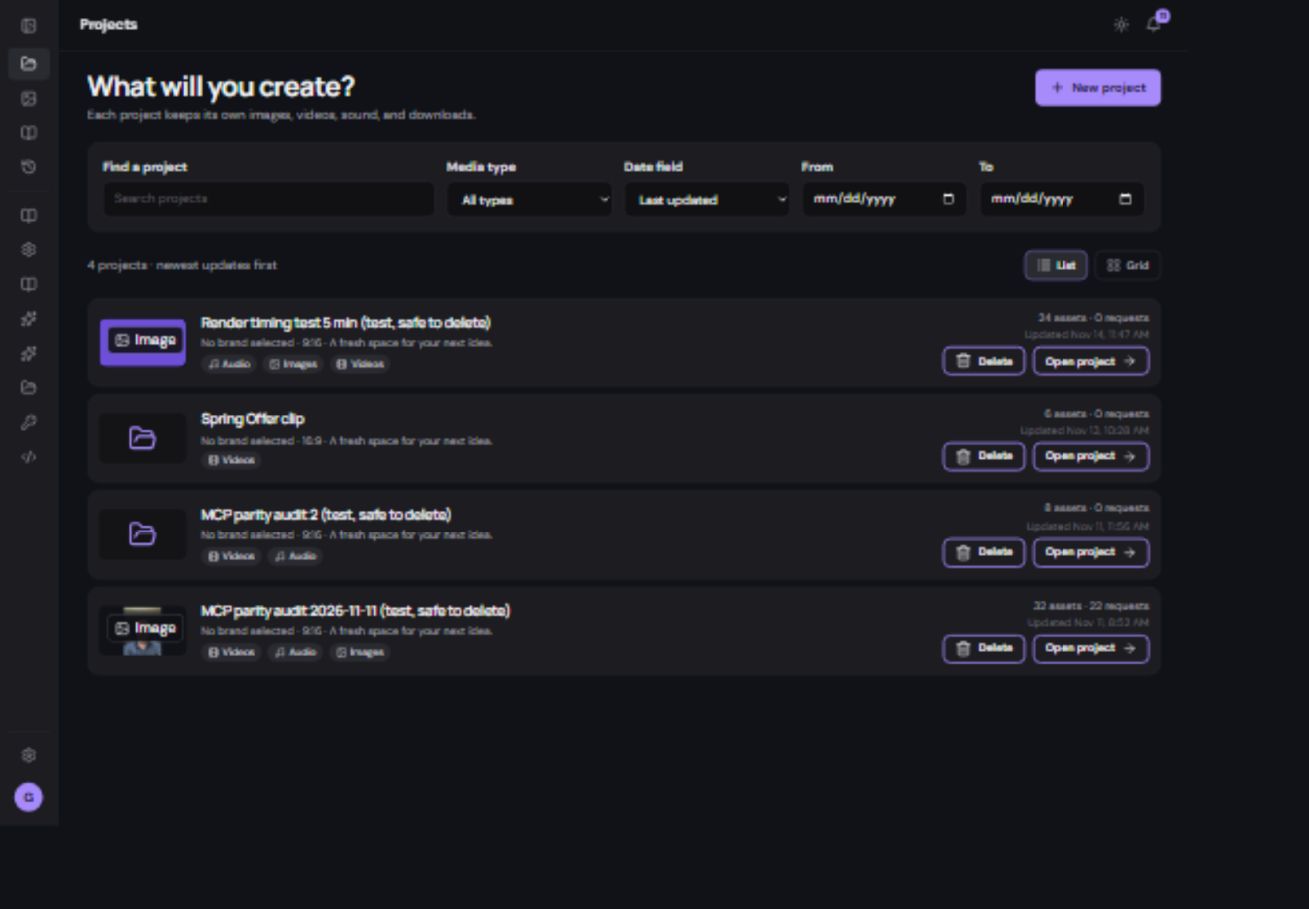
You do not need to be a video editor or write code. Start with one small result: a product photo, a short demonstration, a talking presenter or a reel with music. Create keeps source files and finished results in projects so you can find them again.
| Your goal | Follow this guide |
|---|---|
| Make your first project | Create a project and find your way around |
| Make a product image | Write a prompt and choose references |
| Turn a picture into motion | Generate and review a video |
| Add a voice or soundtrack | Create voice, music and sound |
| Build a reusable presenter | Save an avatar or character |
| Make the presenter speak | Prepare speech and create a talking video |
| Translate a spoken video | Choose a language and review the translation |
| Make a complete reel | Combine an image, text and music |
| Edit clips together | Use the browser editor |
| Organize many files | Use list view, filters and bulk actions |
How the pieces fit together
- Start a project.
A project groups the images, videos, sound and finished downloads for one job. Use a name such as “Summer café reel” so it is easy to find.
- Make or upload source files.
Generate with an AI model, or bring files you already have. A model is the engine that makes one image, clip or sound; it is not the whole project.
- Choose the results you like.
Play videos and sound, enlarge images and compare versions. You can keep several alternatives without replacing the original.
- Arrange the story in Editor.
Put clips in order, add titles and music, and preview the result. The timeline is the sequence of material your finished video will show.
- Export and download.
Export turns the timeline into one playable video. Save it to Downloads in Create or to your computer.
Find every part of Create
| Area | What it helps you do |
|---|---|
| Images / Videos / Sound | Make, preview and manage the source material for your selected project. |
| Avatars & Characters | Keep a presenter’s photos, reference videos, voice and permission recordings together. |
| Downloads | Find finished video exports and translated videos. |
| Project library | Find and reuse existing media. |
| Brands | Keep reusable brand assets organized. |
| Saved prompts / Saved recipes | Reuse written generation instructions or supported editing recipes. |
| Project history / All history | Track requests, results and errors. |
| Team | Control shared membership and access to individual Create projects. |
| Settings / Account / Billing & balance | Choose preferences and review the account and payment controls available to you. |
| API management / API documentation | Connect your own automation when you need it. |
Need model-specific advice? Choose a model in the model help page to read its inputs, strengths and supported controls. To use your connected assistant, start with Avatars and the MCP assistant.
A few words you will see
| Word | Plain meaning |
|---|---|
| Prompt | Instructions you type for the AI. |
| Reference | A source picture, video or recording that guides a generation. |
| Asset / media | A file, such as an image, clip or audio track. |
| Timeline | The order and timing of clips in your edit. |
| Export | A finished video made from the timeline. |
| Quote | The price shown before you confirm a paid operation. |