
Build an avatar or character
Save a presenter’s photos, reference videos, voice choice and permission recordings so you can reuse them.
What an avatar saves
An avatar is a reusable set of references. It does not automatically create a talking video. First save the avatar; then write a script or supply speech and choose how to animate it. Open Avatars & Characters from the sidebar.
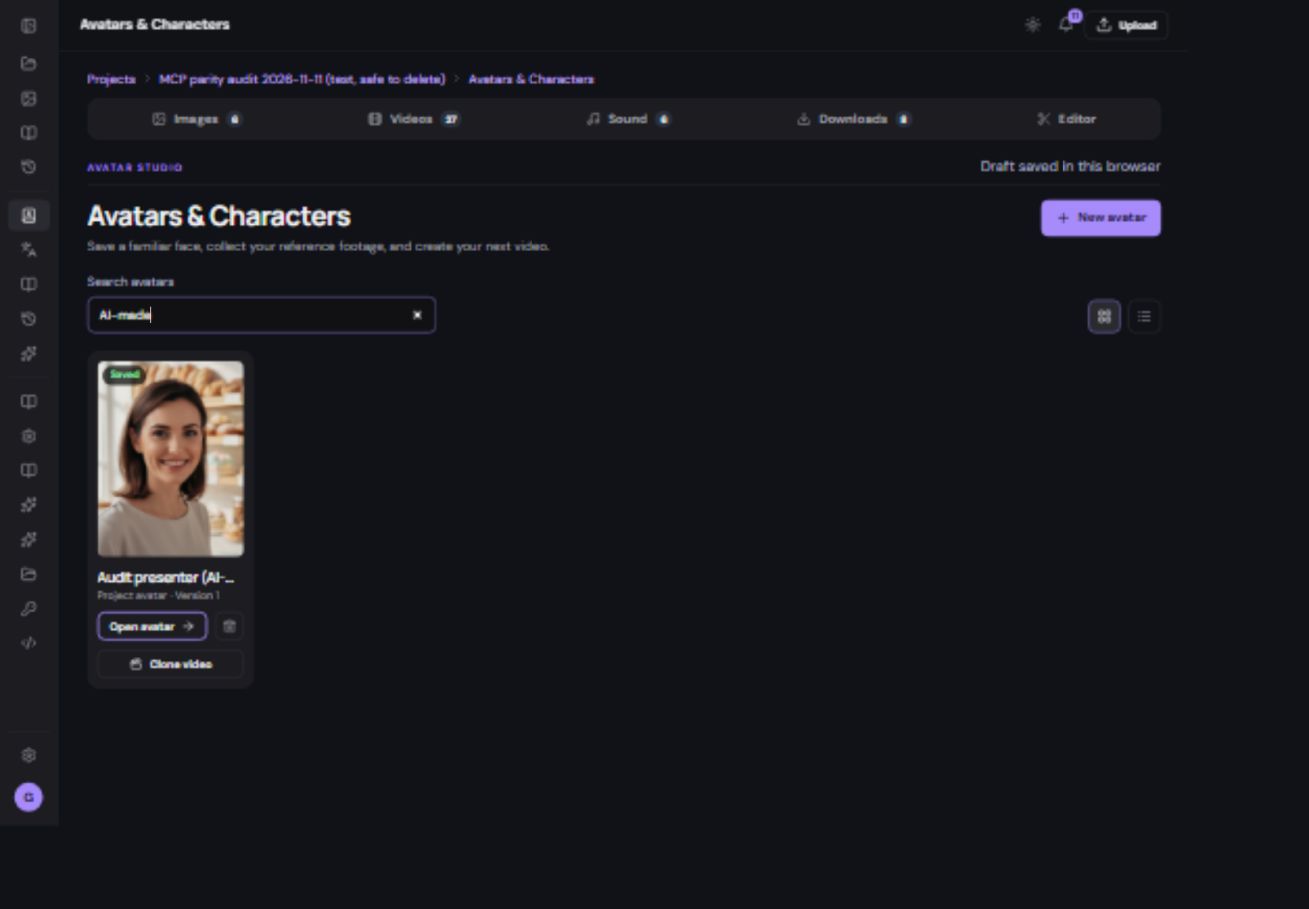
Start with Details
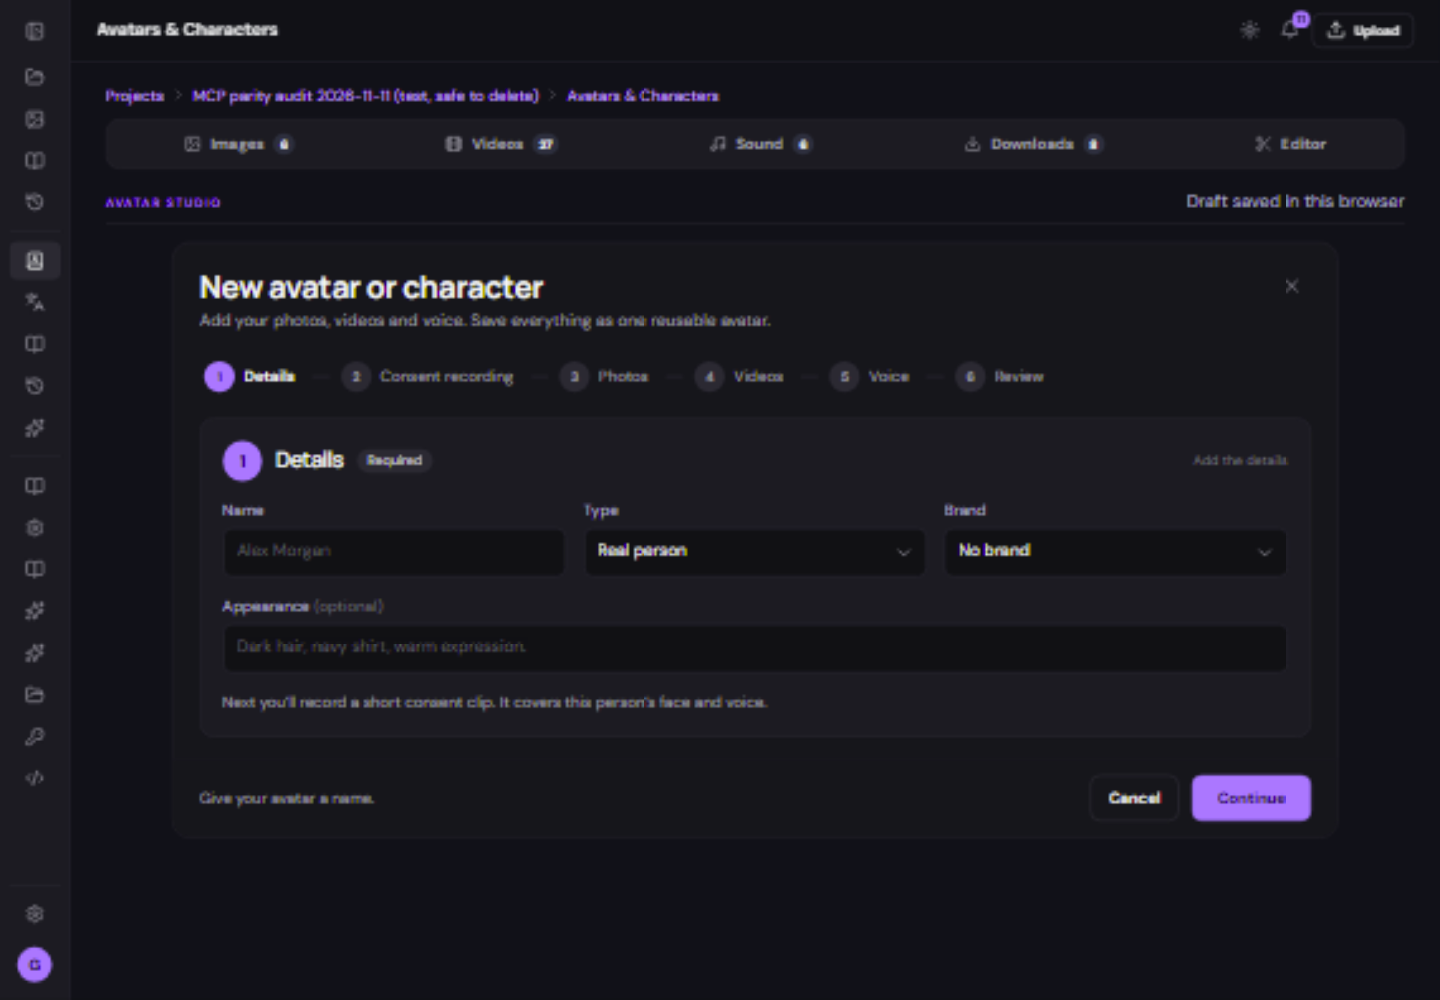
- Give it a recognizable name.
For example, “Café presenter” or “Milo the mascot.” Choose the brand if these references belong to a particular business.
- Choose the correct type.
Use Real person for a real individual. Use Character for a fictional or AI-made subject and describe its appearance. Do not use Character to avoid a real person’s permission requirements.
- Read the permissions shown.
Confirm only statements that are true. The next steps depend on the type and voice workflow you choose.
Record permission when required
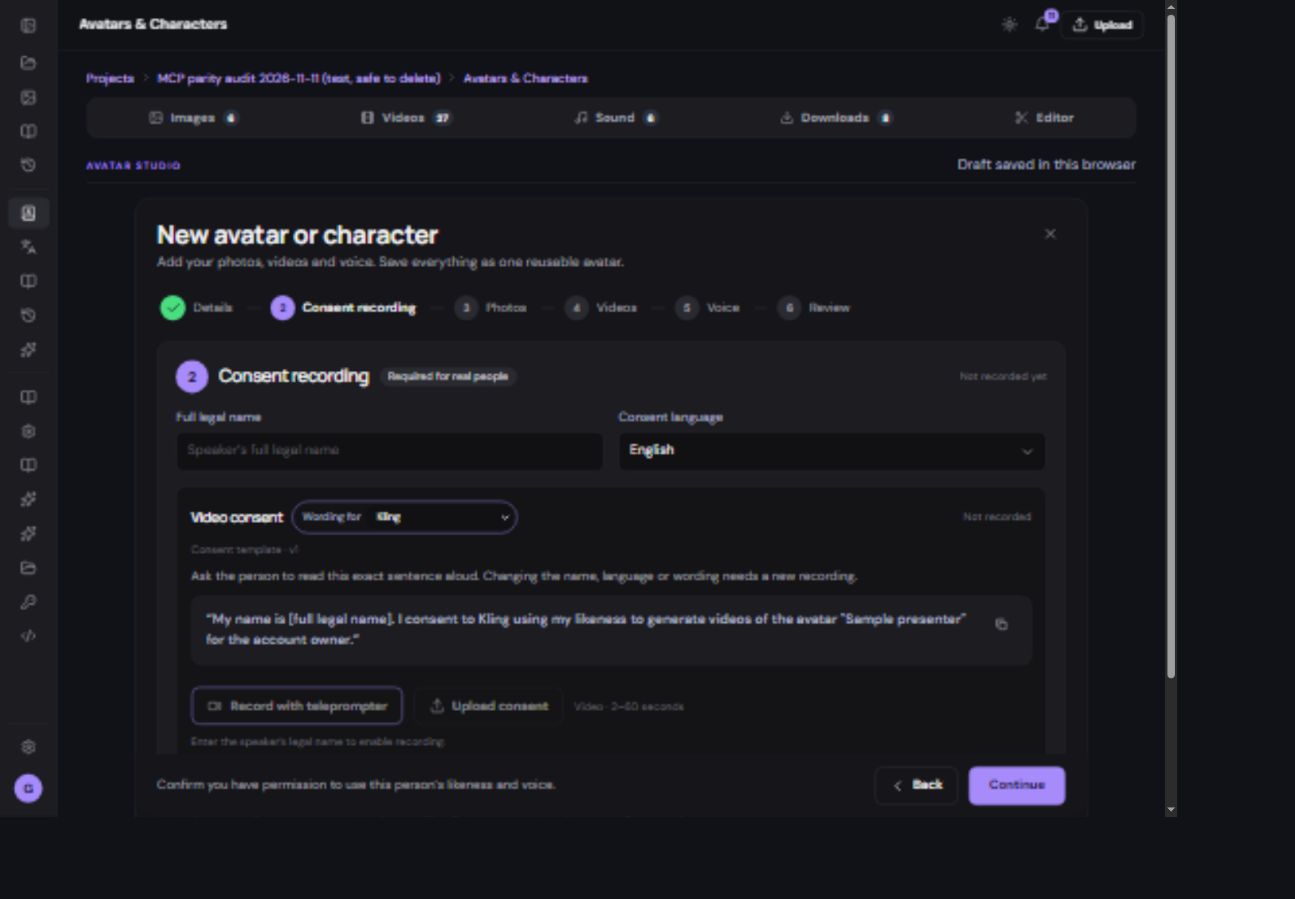
Enter the requested legal name and language. Choose the wording option appropriate to the intended video route. The current interface includes Mango9 standard and provider-specific choices. Read the exact displayed sentence aloud; do not substitute a casual permission message.
- Use the person whose likeness or voice will be used.
They should read the full displayed wording clearly. Follow the format and duration shown next to the recorder or uploader.
- Record or upload the permission separately.
A portrait, reference clip or ordinary speech sample is not a consent recording. Wait for its completed status.
- Recheck after changing the wording.
Changing name, language or provider wording can require a replacement recording.
- Check the resulting status.
An uploaded recording is not automatically provider-verified. Follow any further verification or access requirements shown.
Add photos, videos and a voice
| Step | What to do | Why it helps |
|---|---|---|
| Photos | Add clear photos of the same subject and choose the front photo. Follow the current file-count and size limits. | Gives the model a consistent face and appearance. |
| Videos | Add optional reference clips and choose the primary clip when the form asks. Multiple clips can be kept. | Provides useful reference material for compatible video workflows. |
| Voice | Choose the offered preset/generated voice option or set up a clone with a clean speech sample and the required separate permission. | Keeps the intended voice available for later videos. |
| Review | Check the selected front photo, reference videos, voice and permission status, then Save avatar. | Creates the reusable avatar record. |
Use a quiet recording with one speaker for a voice sample. Leave out music and other voices. Saving a sample does not itself start a paid speech generation. The model used later still decides which references it accepts.
Use the saved avatar
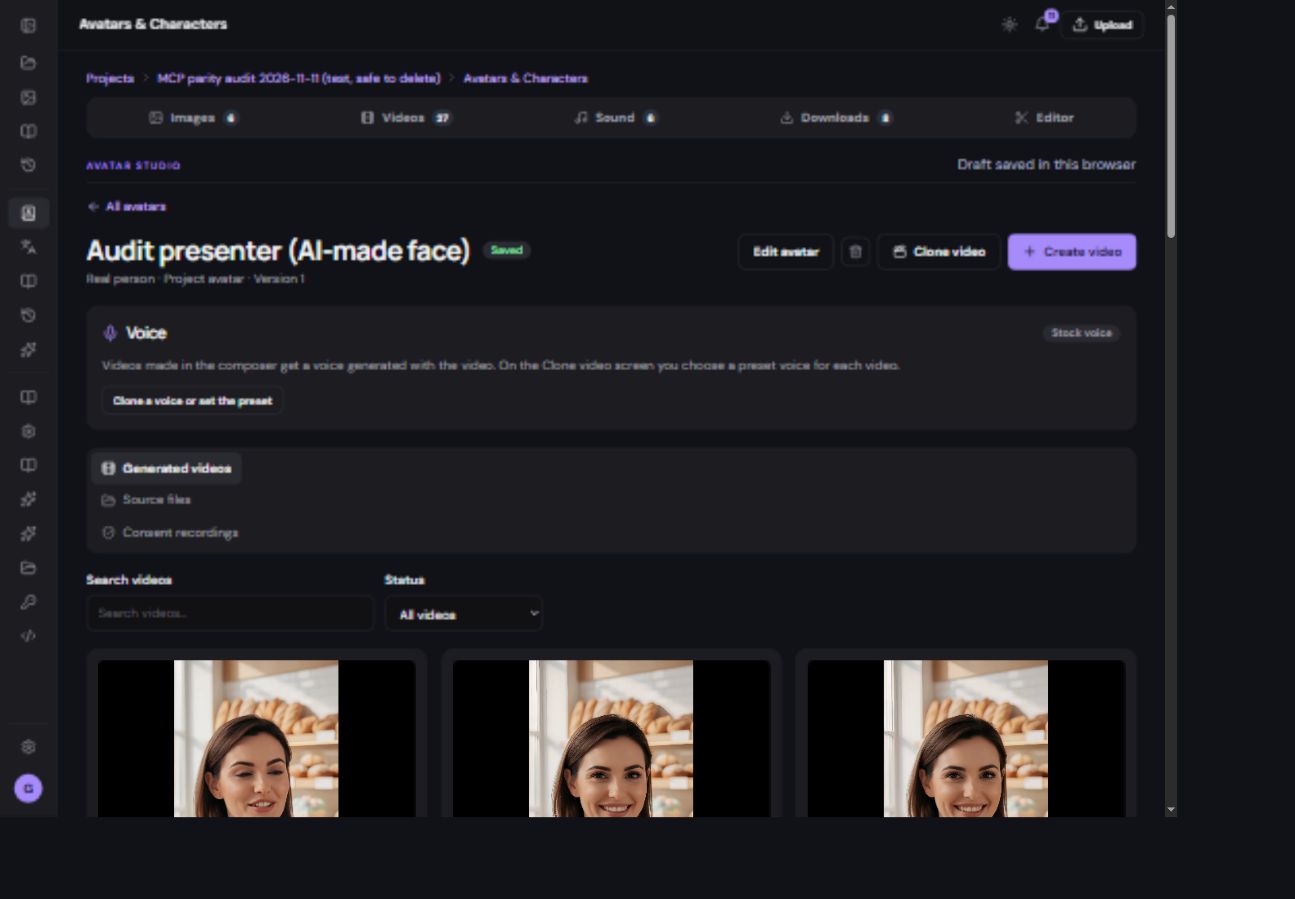
- Open Source files to review its photos and reference videos.
- Open Consent recordings to review the stored permission status.
- Use the voice controls to choose a preset or finish cloning setup.
- Choose Clone video for the guided script-and-speech workflow.
- Choose a generated video to preview, download or use it in an edit.
Update or remove an avatar
Edit the saved avatar when references change and finish the save. Earlier generation records keep their history. Delete an avatar only after reading the confirmation; removing its record does not erase billing history. Source-media deletion is a separate action and can affect other uses of that file.