
Create and edit images
Make product photos, scenes and campaign visuals, or use references to guide an edit.
Start with the picture you need
Open a project and choose Images → New image. Choose a model for your goal, then read the compact guide under it. Model and creation-mode choices determine which reference slots and controls appear. The model help dropdown explains the supported inputs in more detail.
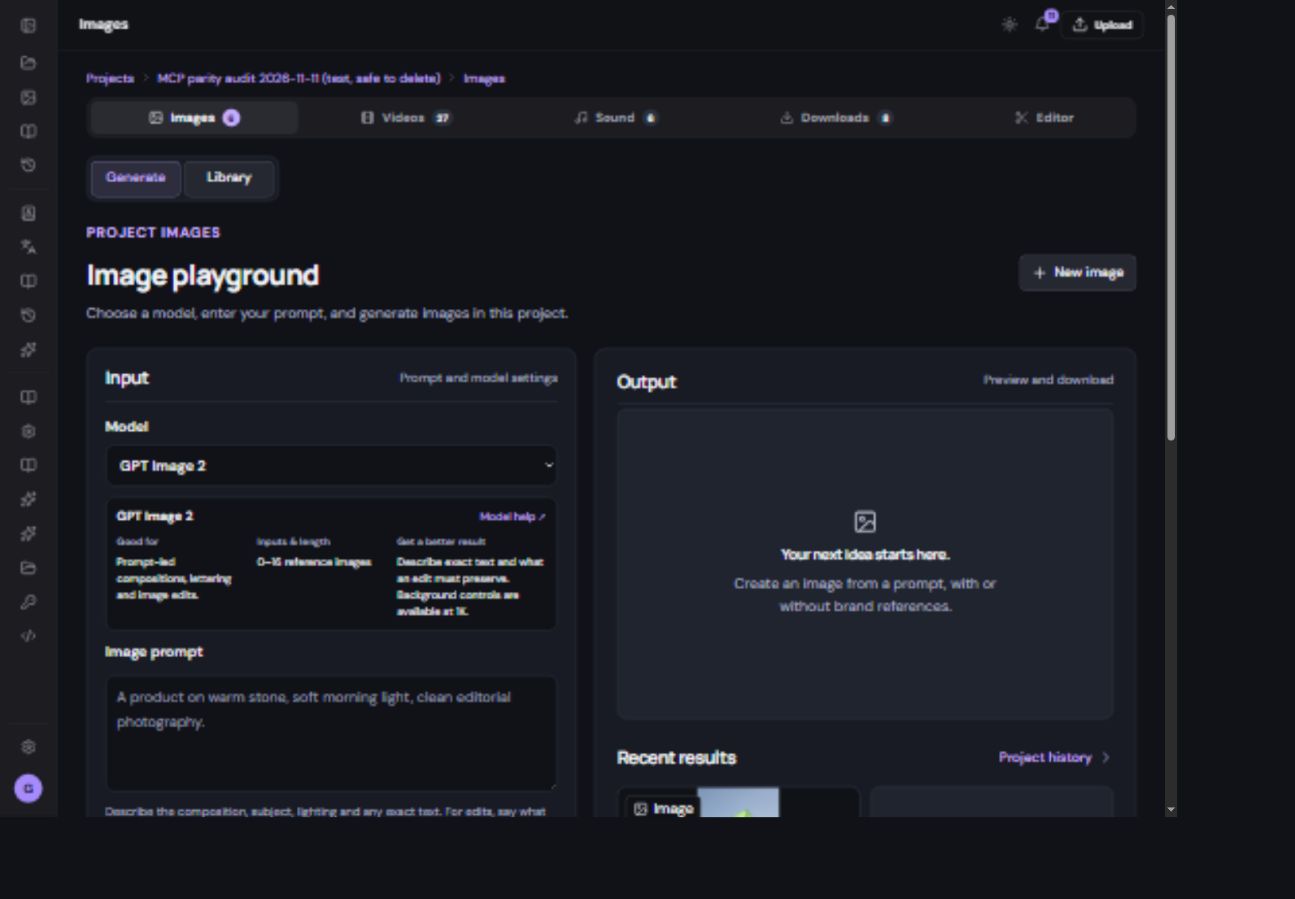
Generate an image step by step
- Choose the model.
For a product scene, compare FLUX.2 Pro; for a composition with lettering, compare GPT Image 2. These are starting points, not guarantees.
- Describe the subject and setting.
Say what should be visible, the lighting, background and composition. Put intended lettering in quotation marks.
- Add references when useful.
Upload or choose an existing file in the actual reference slot. Wait for the thumbnail. A file merely present in the library has not necessarily been selected as an input.
- Choose the supported shape and quality.
Portrait is useful for vertical content, landscape for wide scenes and square for square placements. The available controls depend on the model.
- Review the price and confirm once.
Follow the request in Project history or Notifications. A new generation is a separate operation.
- Inspect the result at full size.
Check lettering, faces, hands, product labels and the crop before downloading or reusing it.
Try a focused prompt
A lavender skincare bottle on warm limestone beside a folded cream towel. Soft morning window light, gentle shadows and a quiet background. Keep the bottle in the lower third and leave space above for a headline.
For an edit, be explicit: “Keep the bottle and label unchanged. Replace only the background with a cream studio wall.” If the result is off, change one part of the instruction at a time. Add exact text later in Editor when you need complete control of spelling.
Choose what happens next
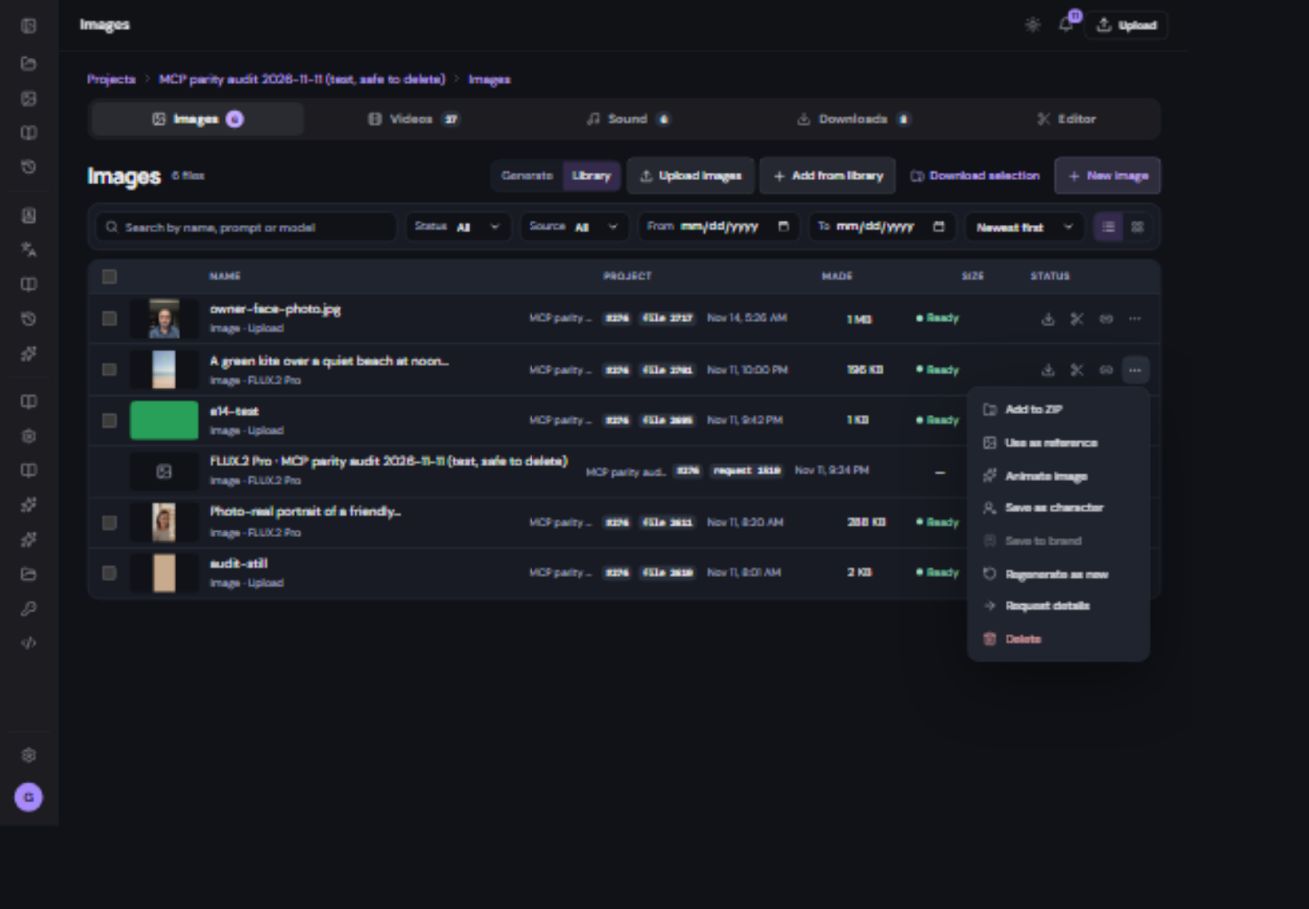
- Download keeps the source image on your computer.
- Use as reference guides a later generation; it leaves the original file intact.
- Animate image opens a video workflow. Describe movement rather than rewriting everything visible in the image.
- Save as character starts reusable avatar setup. Finish that setup to save an avatar.
- Add to editor lets you make a still-image reel with a title and music. AI motion is optional.