
Edit a story in your browser
Import project files, arrange clips, add text and sound, and export one finished video.
Meet the current editor
Open a project and choose Editor. You will see a media panel on the left, a player in the middle, an inspector on the right and a timeline along the bottom. The player shows the frame under the playhead. The playhead is the vertical position marker on the timeline.
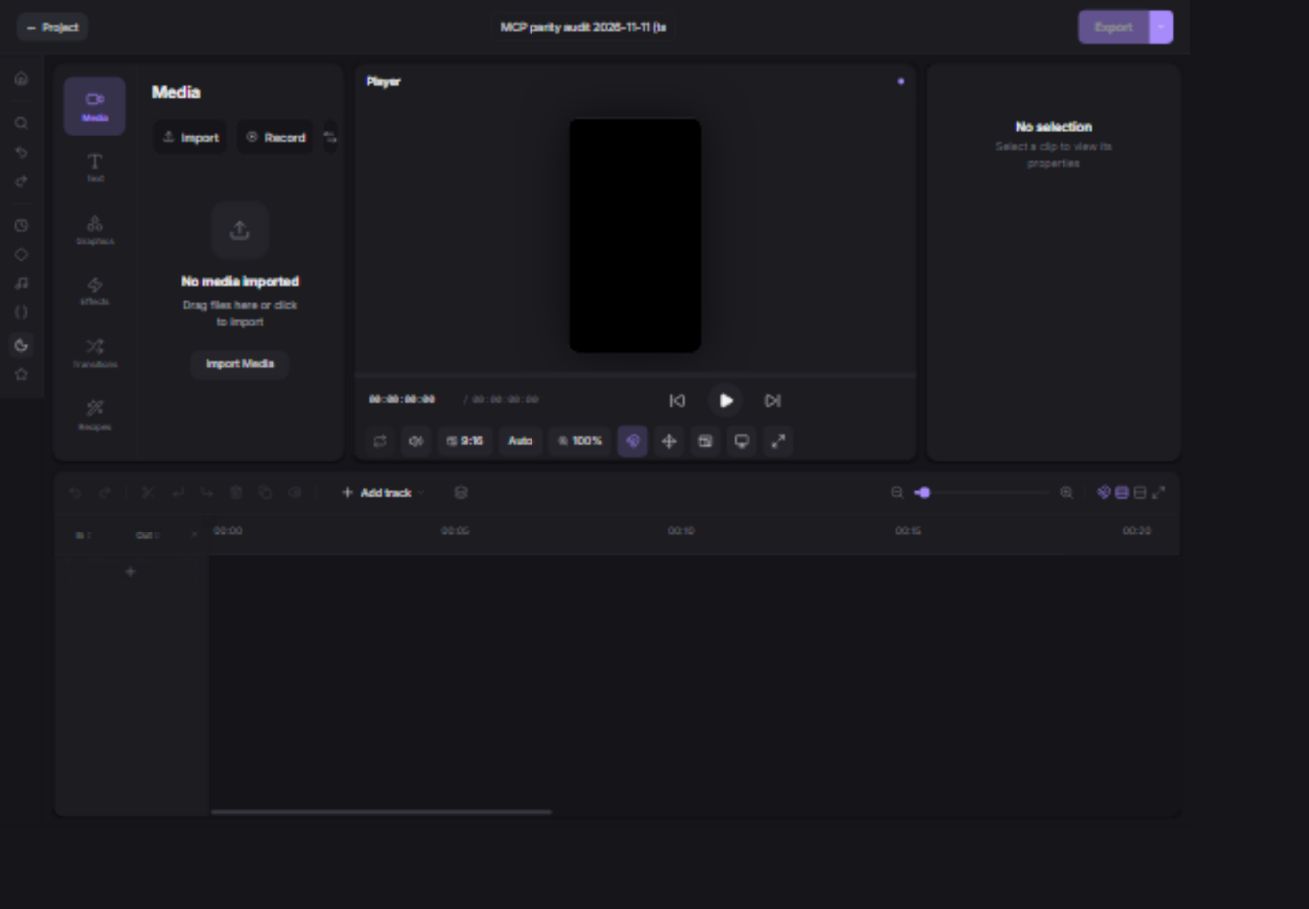
| Area | What it does |
|---|---|
| Media | Holds the files available to this edit. Importing a file does not automatically place it on the timeline. |
| Player | Previews the edit at the current timeline position. |
| Inspector | Changes the selected clip’s framing, position and other available properties. |
| Timeline | Controls when each image, video, text and sound clip starts and ends. |
| Text / Graphics / Effects / Transitions | Opens the available tools for the relevant part of your edit. |
| Export | Creates one finished video from the timeline. |
Import from the project or your computer
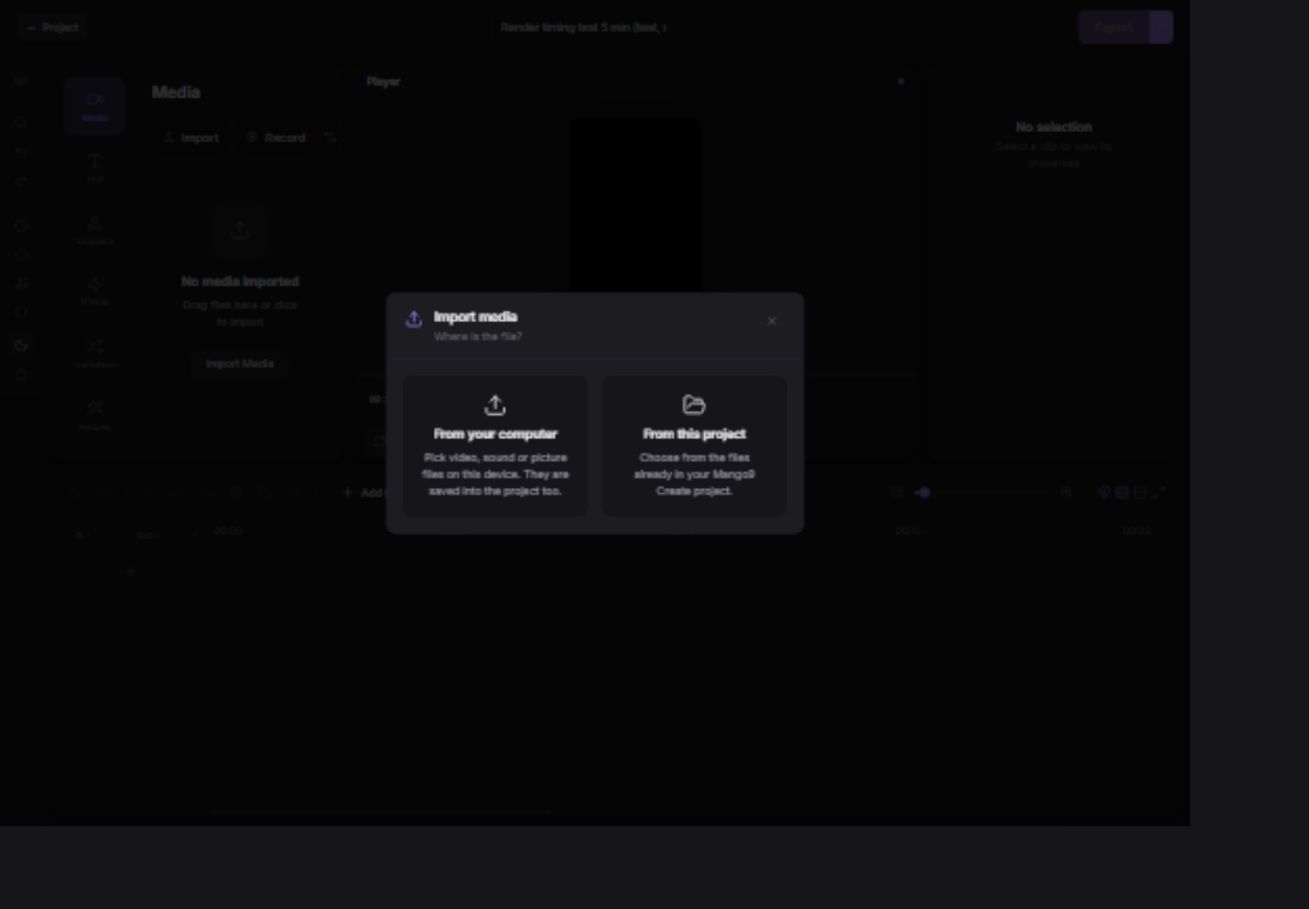
- Choose Import → From this project.
Select ready images, videos and sound from the project. Search if the library is long.
- Confirm the files you want.
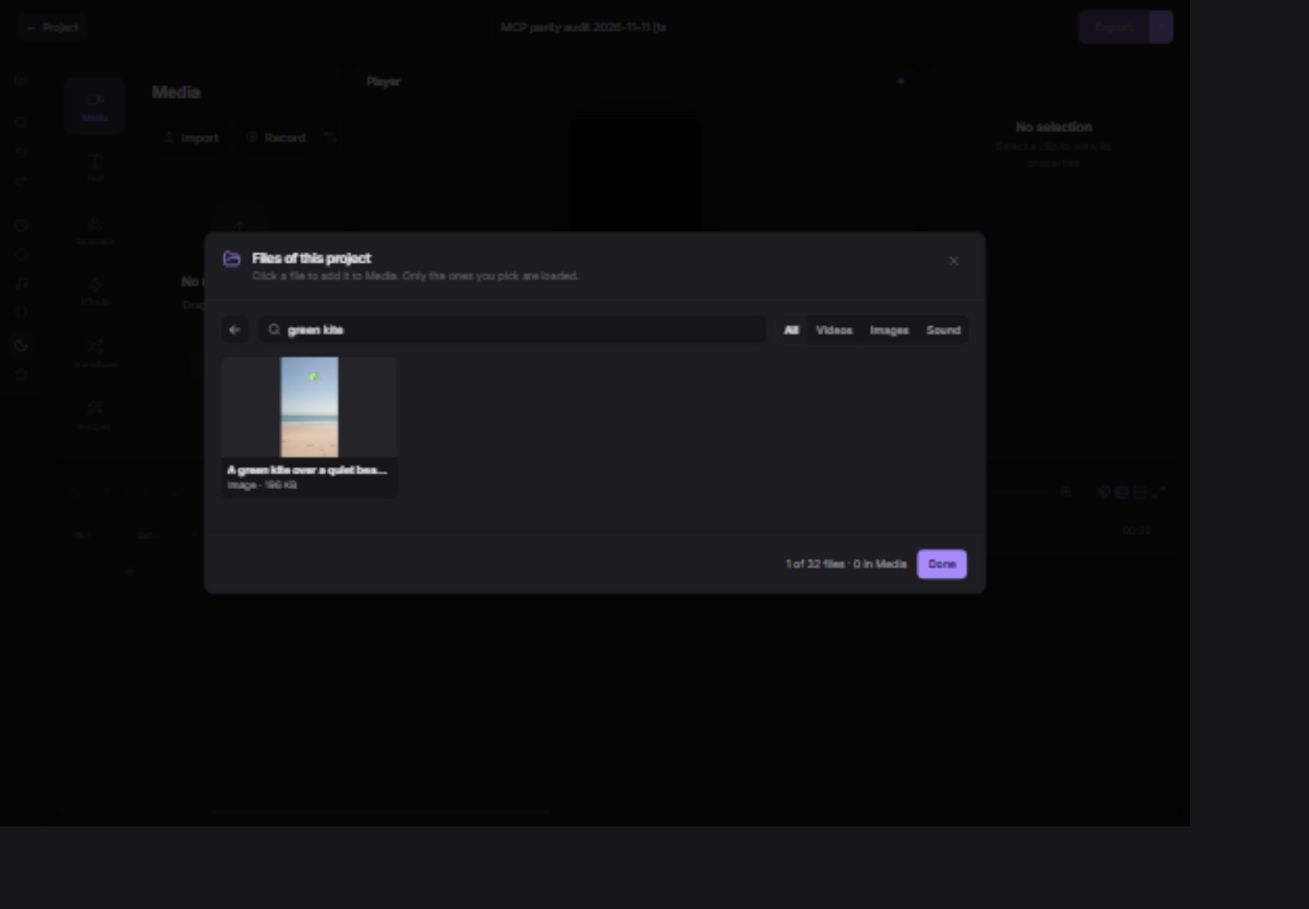
They appear in the editor’s Media panel. Choose only what this edit needs.
- Or choose From your computer.
Pick local files and wait for processing. Read the resulting message: “Saved to your project” and “Kept in the editor only” mean different things.
- Place media on the timeline.
Drag it from Media to a track, or double-click the media item to add it. Arrange it where you want the audience to see or hear it.
Build the timeline
- Put the first visual at the beginning.
Drag a video or still image onto a visual track. A still image can stay visible for several seconds.
- Add the next shot after it.
Move clips along the timeline to put them in order. A gap can leave an unintended blank section.
- Trim the beginning and ending.
Drag clip edges to change the visible range. Use the quick trim or split controls with the playhead inside the intended clip.
- Preview the join.
Play across every cut. Use timeline zoom for more accurate placement and Undo if an edit goes wrong.
Frame an image or video
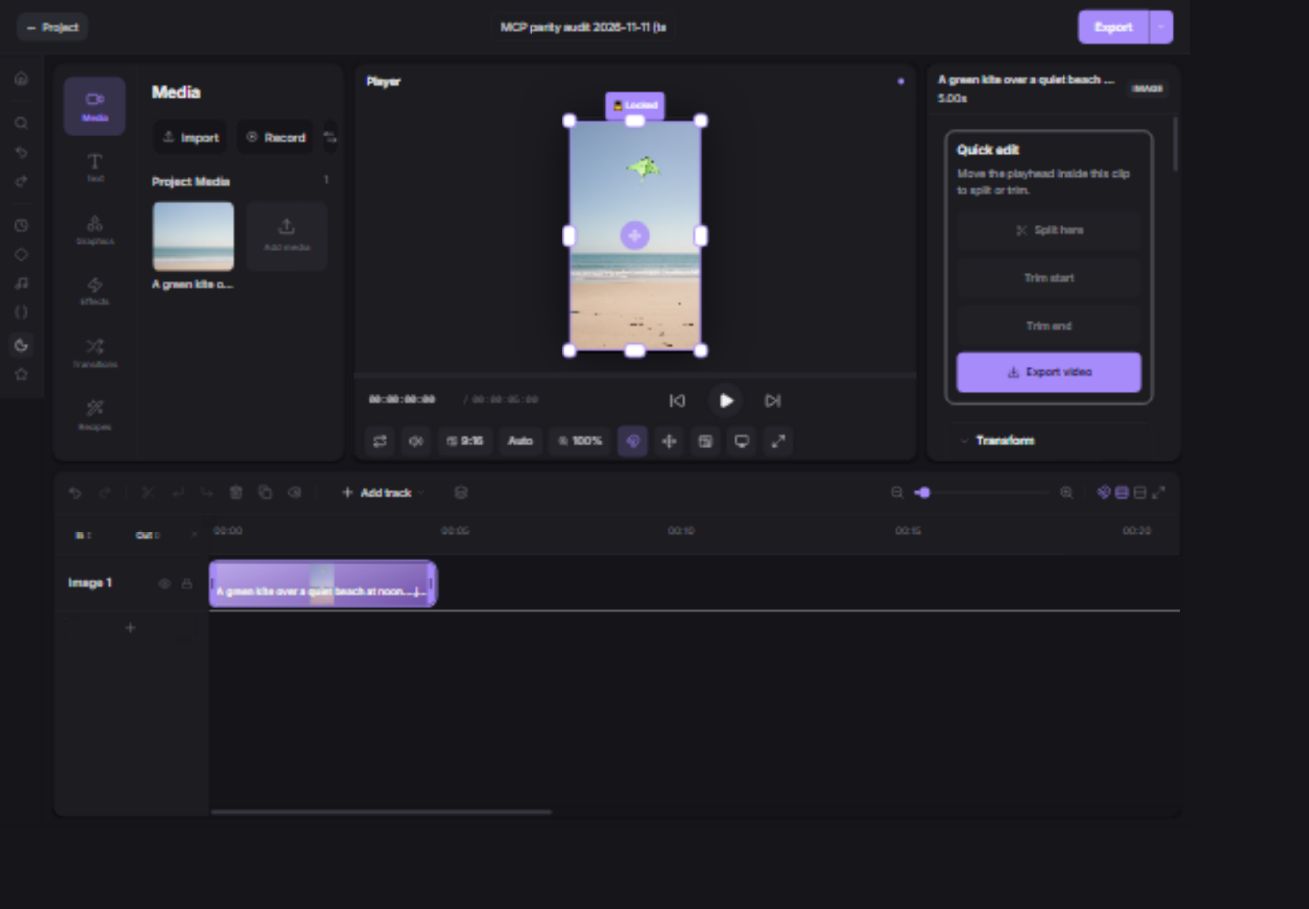
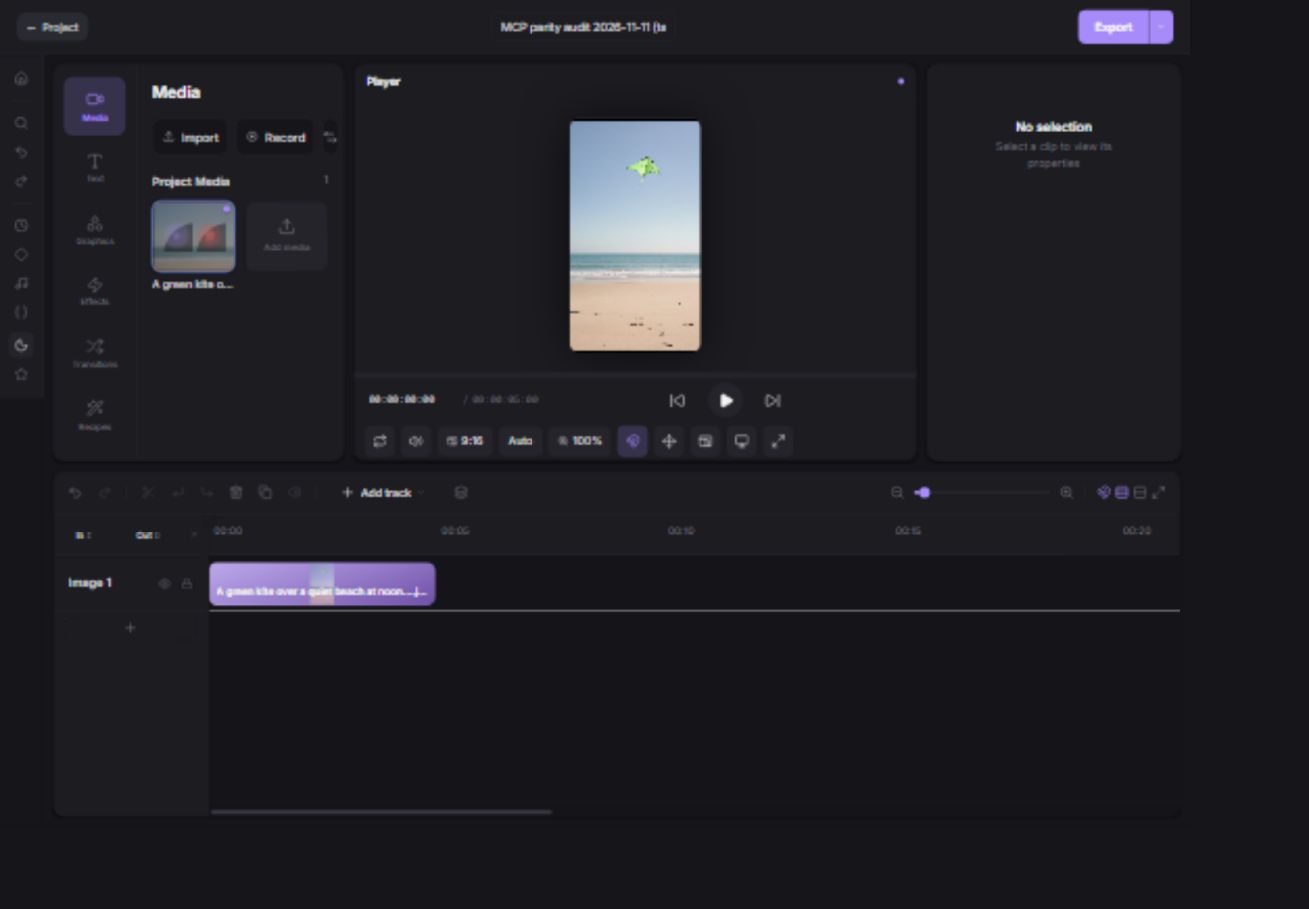
Choose Fit when you want the entire source visible; borders can remain if its shape differs from the project. Choose Fill when you want the frame filled; some edges can be cropped. Stretch can distort proportions. Check faces, logos and text after changing the fit. Use position and scale to adjust the composition.
Add a title
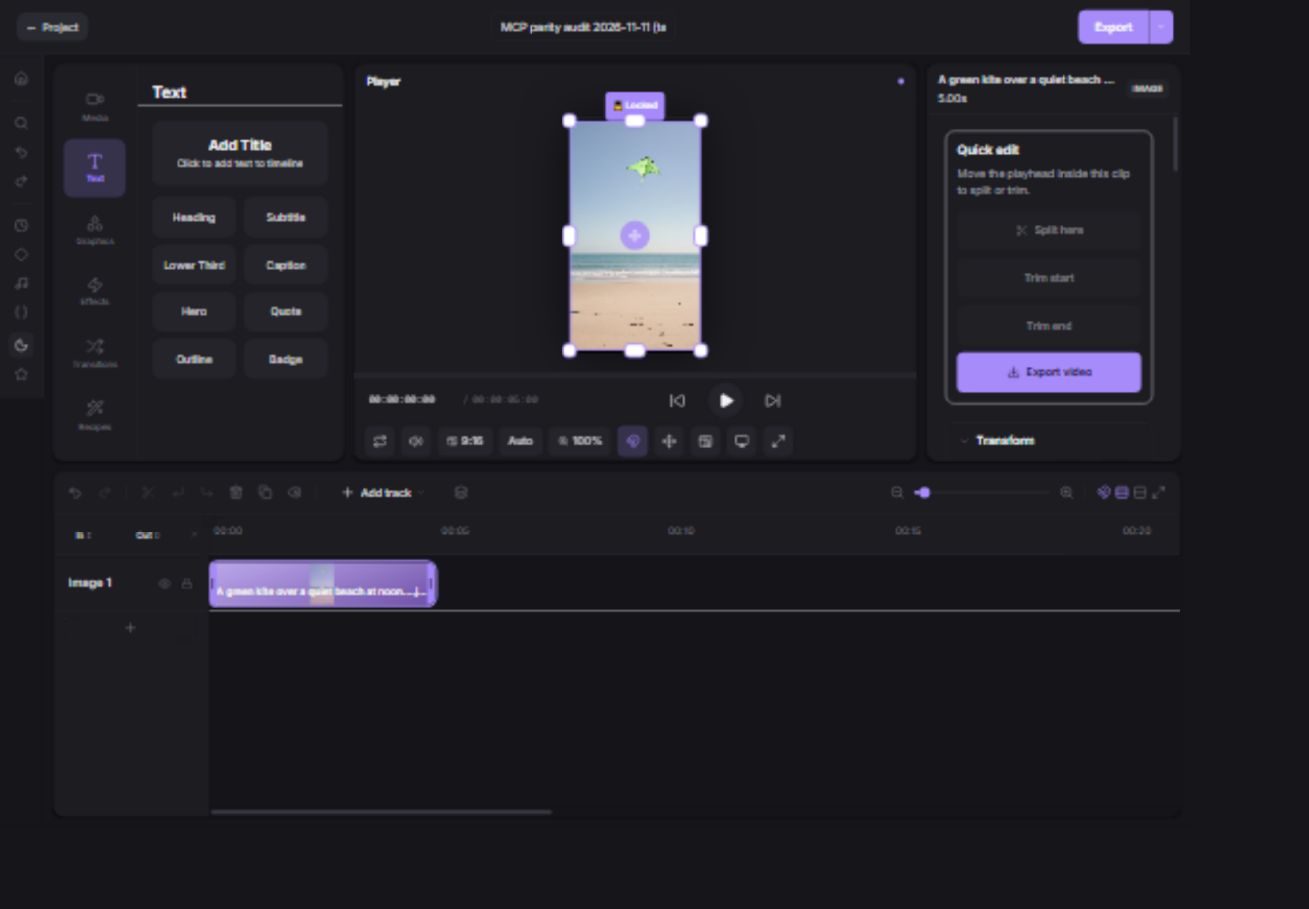
- Open Text and choose a suitable title.
Add it to the timeline above the picture or video.
- Replace the sample wording.
Keep it short enough to read and choose a style that contrasts with the background.
- Set its position and duration.
Keep it away from important faces or product details. Trim its timeline clip to show it only when needed.
- Preview at the final shape.
Check the opening, middle and ending. A title that looks fine while paused may disappear too quickly during playback.
Add narration and music
Import approved audio from Sound and put it on a sound track. Keep narration and music separate so you can balance them. Listen for original video audio that may compete with the new tracks. Use the available clip sound controls or Audio Mixer to adjust the levels.
To reuse the original sound from a video, follow Save video sound to the project. That creates a source audio file; it does not render the entire timeline’s mix.
Understand what is saved
After importing from your computer, wait for the save message. “Kept in the editor only” means you should retain the original local file and resolve the project-save problem before relying on cloud access. A file appearing in Media alone does not prove it was saved to Create.
Export the finished result
- Watch the whole timeline.
Check empty gaps, title spelling, voice levels, ending and project shape.
- Open Export.
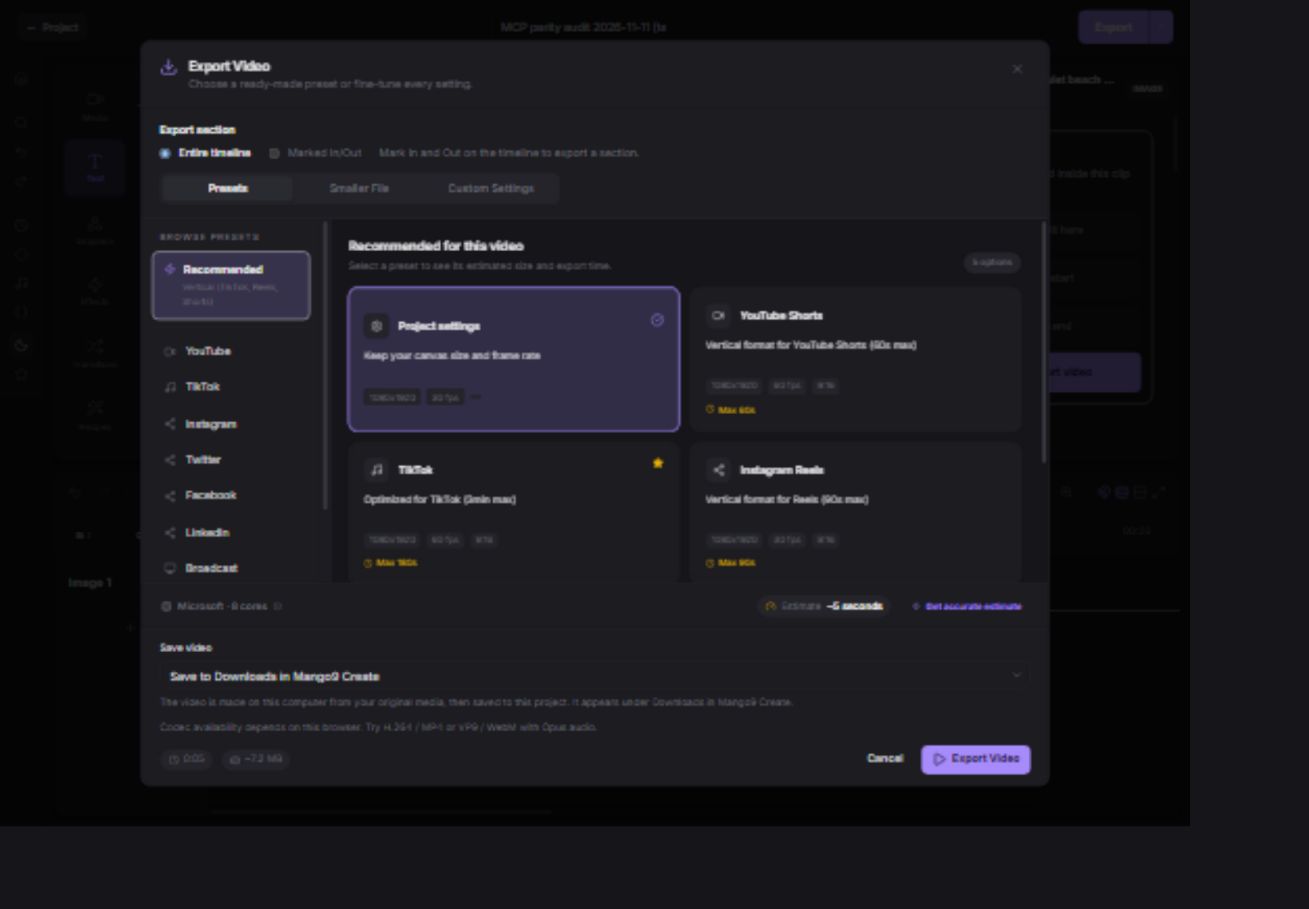
Use Entire timeline unless you intentionally want the marked In/Out range. Choose the supported preset or custom output settings.
- Choose the save destination.
Save to Downloads in Mango9 Create keeps a finished result in the project. Save to a file on this computer writes a local copy.
- Start Export video and keep the browser open.
The browser does the export work. Keep the computer awake until it finishes and read the completion message.
- Verify the saved result.
Open Downloads or your local file and play it. The exported video is separate from the editable timeline.